
-
General information
Theme demo: http://silvera-demo.wdvillage.com
Thanks for purchasing Silvera - responsive WordPress 5.0.x and Gutenberg Compatible WordPress theme. Please, read this documentation before you get started. In this documentation, you can find how you can customize the theme. If you have any questions, please contact us on email.
-
Demo content
Before importing demo content you must install plugin 'One Click Demo Import' on your site. And after you must go to ‘Appearance’->’Import Demo Data’ and press button ’Import Demo Data’. You must wait then data will be loaded.
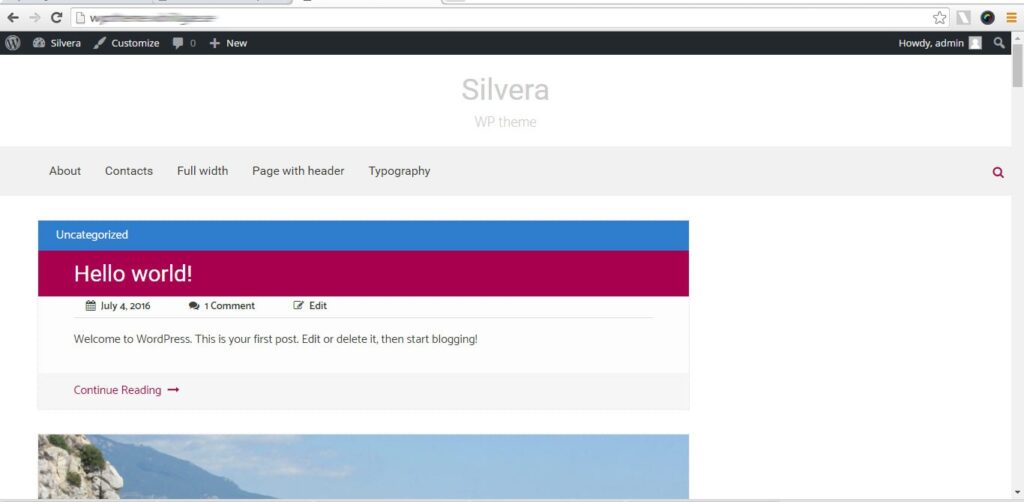
Now you can see demo content on your site:
-
Customize theme
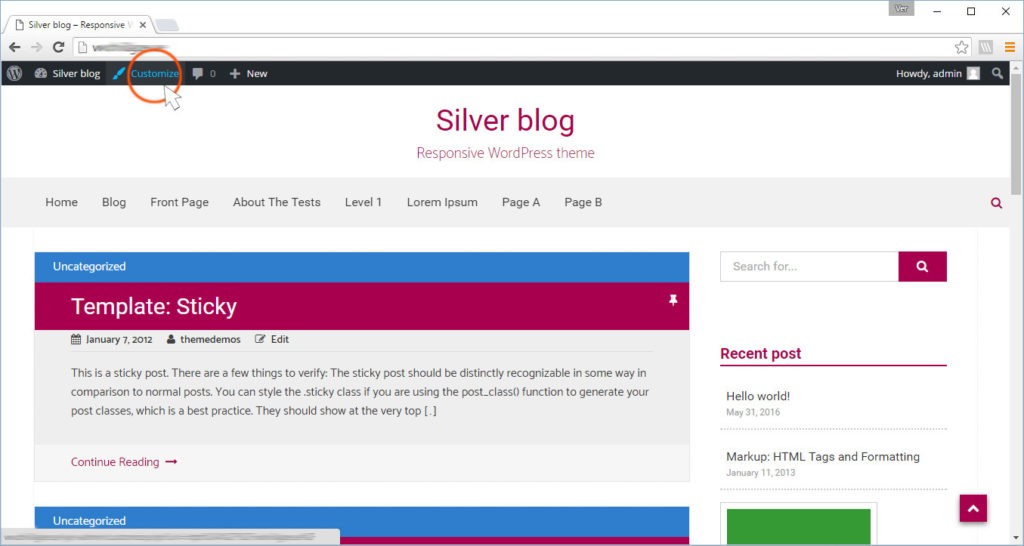
Silvera theme is using the Theme Customization API for customizing theme options. To customize this theme you must open customizer. Please, press “Customize“:
Now you can see that theme options you can customize.
-
Customize theme – About “Silvera”
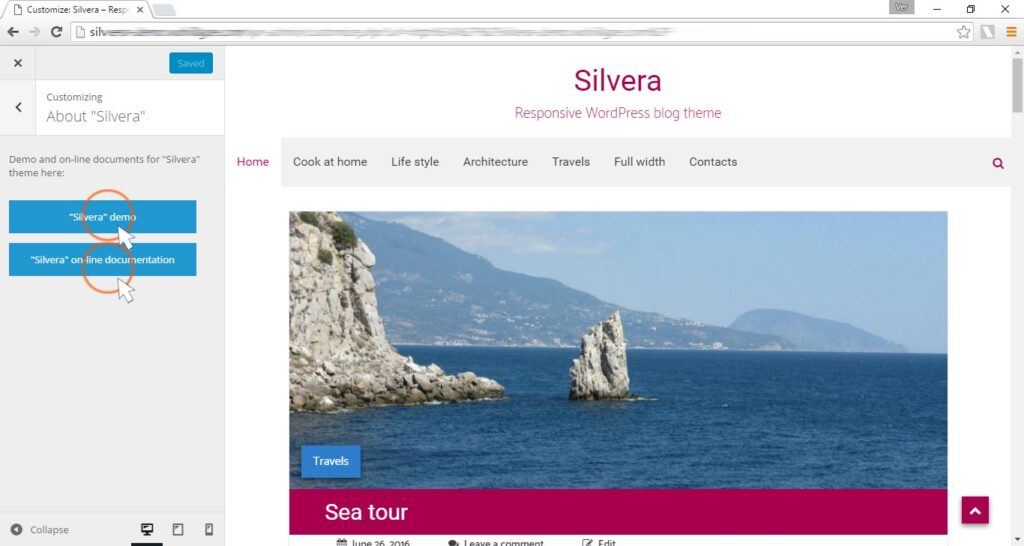
In the section ‘About “Silvera”‘ you can find links to Silvera theme demo and to documentation for Silvera theme:
-
Customize theme – Header options
In the section “Header options” you can download the header image (in chapter ‘Header image‘) and to choose which header will be displayed on different pages (in chapter ‘Header settings‘).
-
Customize theme – Featured slider
In the chapter “Featured slider is showing posts” you can choose what posts you want to displayed on front page (home page). In the chapter “ Featured slider is showing pages” you can choose what pages you want to displayed on front page (home page). Featured slider will show featured image that you place to your post or page. You can download any other image instead of featured image. The recommended image size is 1300 x 470px – this size have featured image that will shown in slider. But if you will download new image for every post or page – you can use image with other height, but height must be the same for all images.
In the chapter “Featured slider settings” you can change featured slider options.
-
Page without sidebar
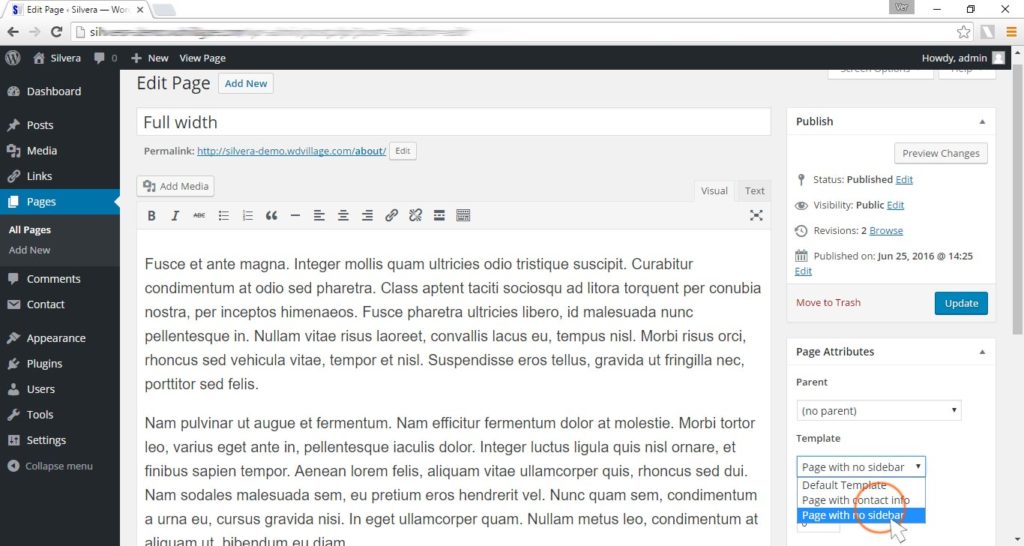
If you want to make page without sidebar you can use for this page template ‘Page with no sidebar’.
-
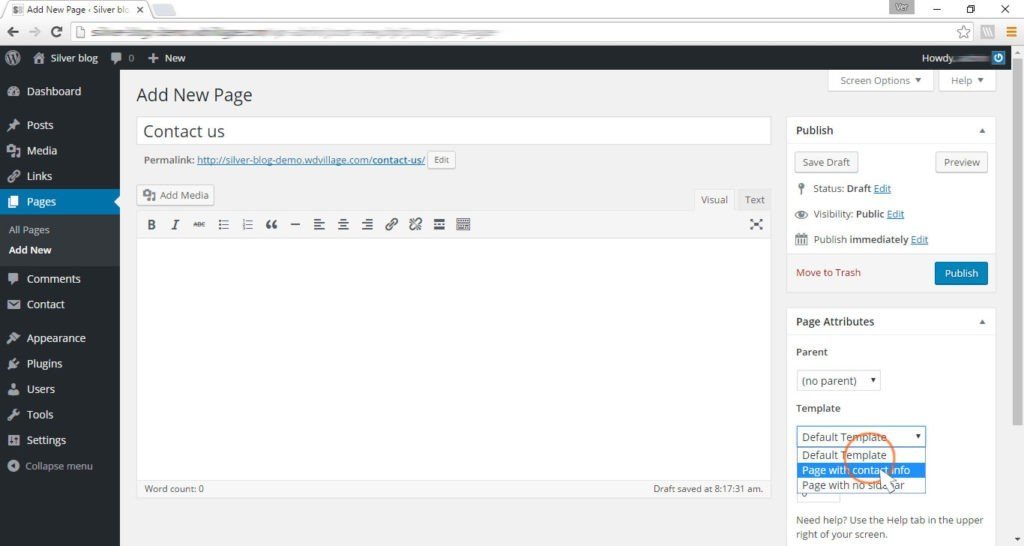
Contact page
If you want to make page with your contact information and contact form you can use for this page template ‘Page with contact info’:
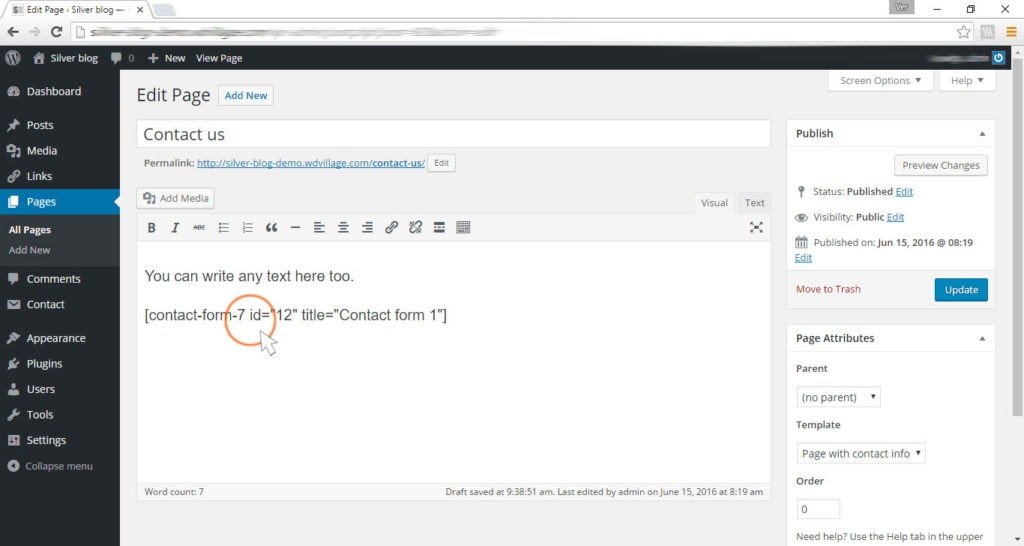
You must use plugin ‘Contact form 7’ for your contact form. Place shortcode for contact form here:
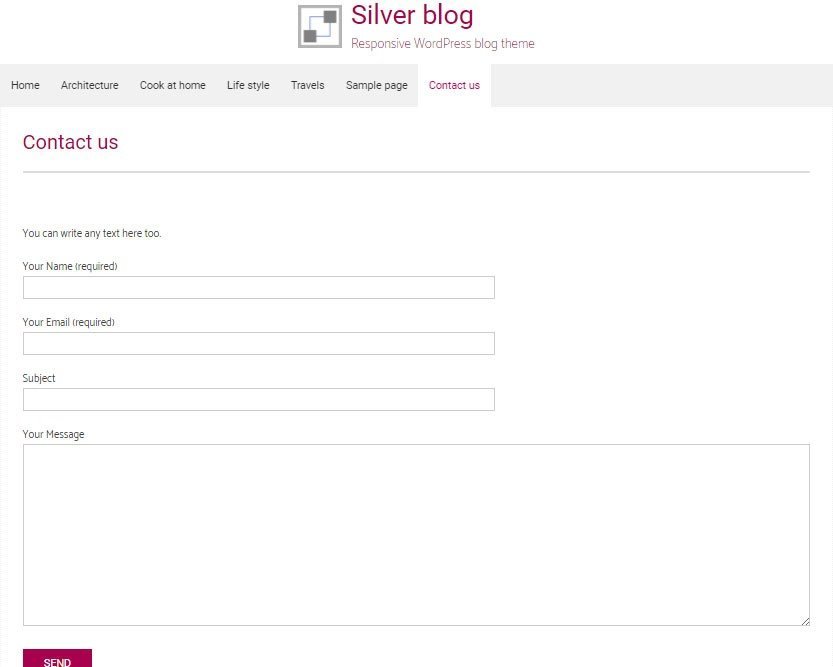
Now your contact page will look similar to this:
-
Installing
-
Install WordPress
To install Silver Blog theme you must have WordPress installed. If do not -you can follow the instructions in WordPress Codex.
-
Install theme
Install Silvera theme by using “WordPress Theme Manager”.
At first, you need download the package with theme from Themeforest. You can find silvera.zip in this package. After that you can install Silvera theme by using “WordPress Theme Manager“. You need to do next:
- Go to admin panel and after that go to “Apperance -> Themes” and press “Add New“
- After that press “Upload Theme”
- Choose the Silvera theme zip file (silvera.zip) that you can find in package that you downloaded from ThemeForest and upload it
- Press “Install Now”
- Now you can find Silvera theme in tab “Themes” and activate it
Install Silver Blog theme by using FTP upload.
You can unzip archive silvera.zip and place this folder called silvera to /wp-content/themes/ folder in your WordPress folder on your server. You can use any FTP software also, for example FileZilla.
-
Recommended plugins
After activated ‘Silvera’ theme you can install recommended plugins (you will get message in the top of page).
There are next recommending plugins for theme ‘Silvera’:
- Plugin ‘Contact Form 7’ – for showing contact form on contact page (you need install this plugin before add demo content too).
- Plugin ‘One Click Demo Import’ – use this plugin for installing demo content on your site.
- Plugin ‘Regenerate Thumbnails’ – use this plugin after adding pictures on your site.
- Plugin ‘MailChimp for WordPress’ – add subscribe form for MailChimp.
- Plugin ‘WP Instagram Widget’ – for adding instagram widgets on your site.
-
-
Customize theme – Theme options
-
Customize theme – Fonts